Written by the Decomica Design Team — updated June 2026. Based on hands-on assembly experience across multiple production batches of our Eames Lounge Chair reproductions.
Assembling a Decomica Eames Lounge Chair reproduction takes 20–30 minutes for most people. You need one Phillips-head screwdriver and the Allen key included in the box. No power tools, no specialist skills. The chair arrives in two cartons; every component is pre-labelled. The most common mistake is rushing the base-to-shell connection — this guide explains exactly how to avoid it.
The Eames Lounge Chair, designed by Charles and Ray Eames in 1956, was engineered for elegant simplicity — and that philosophy carries through to assembly. The reproduction version ships partially disassembled to protect the plywood shells and leather cushions in transit, but the connection points are straightforward once you understand how they work. This guide walks through every step in order, with notes on common mistakes and what the finished result should look and feel like.
What Is in the Box
The Eames Lounge Chair reproduction arrives in one or two cartons depending on whether you ordered chair-only or chair-and-ottoman. Lay all components on a clean, carpeted or padded surface before starting. You will find:
- Three plywood shell sections: lower seat shell, upper back shell, and headrest shell. Each has veneer on both faces and leather cushions already attached.
- Die-cast aluminium five-star base with swivel mechanism.
- Central spine assembly (the aluminium column and bracket that connects the back and headrest shells).
- Seat support plate (the bracket that mounts the seat shell to the base).
- Rubber shock mounts — small cylindrical rubber buffers, typically four to six pieces. Do not discard these; they are structural.
- Bolts, screws, and washers in a labelled bag.
- Allen key (usually 5 mm or 6 mm).
- Ottoman components (if ordered): ottoman shell, ottoman base plate, four feet.
- Instruction sheet with numbered diagram.
If any component is missing or visibly damaged, stop and contact support@decomica.com before proceeding. Damaged goods are covered under the two-year warranty; Decomica will arrange DPD collection at no charge.
Tools Required
- Phillips-head screwdriver (medium size)
- Allen key (included in the box)
- Soft cloth or blanket to lay shells on (protects veneer during assembly)
A rubber mallet is occasionally useful for seating the spine connection firmly, but is not required. Do not use a standard hammer directly on any plywood or aluminium surface.
Step-by-Step Assembly: The Chair
Step 1: Attach the Seat Support Plate to the Base (5 minutes)
Place the five-star aluminium base upside down on a padded surface. Locate the seat support plate — this is a flat aluminium bracket with a central bolt hole and four smaller holes around it.
Align the support plate over the central hub of the base so the bolt holes line up. Thread the central bolt through and hand-tighten first, then use the Allen key to secure it fully. The plate should sit flush and level. If it rocks, the bolt is not fully seated in the hub — remove and re-align before tightening.
Do not overtighten. The aluminium threads are strong but do not benefit from excessive torque. Firm and snug is correct.
Step 2: Place Rubber Shock Mounts (2 minutes)
The rubber shock mounts sit between the metal connection points and the plywood shells. This is one of the most important steps and the one most often skipped. Without the shock mounts, the shells contact metal directly, creating noise, flex fatigue in the plywood, and a stiffer feel that is noticeably different from the intended sitting experience.
Locate the mounting studs on the seat support plate. Press a rubber shock mount onto each stud. They should press on firmly with finger pressure. If a mount does not seat fully, use the heel of your hand to press evenly — do not use a screwdriver, which can tear the rubber.
Step 3: Mount the Seat Shell to the Base (5 minutes)
Turn the base assembly right-side up. Hold the seat shell above it and locate the four bolt holes in the underside of the shell — these align with the studs on the support plate.
Lower the shell onto the support plate, pressing gently until the studs (with shock mounts fitted) pass through the holes. The shell should sit level. If it tilts to one side, check that all shock mounts are seated correctly and that the support plate is centred on the base.
Fit washers and bolts through from below the support plate up through the shell. Hand-tighten all four bolts before using the Allen key to final-tighten in a cross pattern (diagonal pairs) to ensure even clamping pressure. The shell should not wobble when you press on it.
Step 4: Assemble the Back and Headrest Shells onto the Spine (8 minutes)
The central spine is the aluminium column and bracket assembly that connects the back shell and headrest into a single unit. In most Decomica reproductions, the spine arrives partially pre-assembled.
Lay the back shell face-down on your padded surface. Identify the two connection points at the top and bottom of the shell’s inner face. These accept the spine brackets.
Fit the lower spine bracket into the lower connection point of the back shell. There will be two or four bolts to secure it. Do not fully tighten yet — leave them at about 80% so the connection can still adjust.
Bring the headrest shell into position at the top of the spine. The headrest tilts slightly forward relative to the back shell — this is correct and intentional. Fit the upper spine bracket into the headrest connection points and insert bolts. Again, do not fully tighten yet.
With all bolts loosely fitted, check that both shells are correctly oriented (leather faces outward, veneer faces visible). Then final-tighten all spine bolts, starting from the headrest down. The assembled back-and-headrest unit should be rigid with no rattle.
Step 5: Connect the Back Assembly to the Seat Shell (5 minutes)
The back-and-headrest unit connects to the rear of the seat shell via a pivot bracket. This is the hinge point that allows the characteristic slight recline of the chair.
With one person holding the back assembly upright, align the pivot bracket with the mounting points at the rear of the seat shell. Insert the pivot bolt and tighten with the Allen key. The connection should allow a controlled tilt backward — if the back falls fully backward with no resistance, the pivot is not tightened correctly. If it does not move at all, it is overtightened. Aim for a firm resistance that allows deliberate movement.
This step is easier with two people. One holds the back assembly at the correct angle; the other aligns and fastens the bolt.
Step-by-Step Assembly: The Ottoman
The ottoman assembles independently of the chair and is simpler. Allow 5–10 minutes.
Step 1: Attach the Base Plate to the Ottoman Shell
Lay the ottoman shell upside down. The base plate is a flat aluminium or metal plate that attaches to the underside of the shell via four bolts. Align the plate centrally, fit all four bolts finger-tight, then tighten in a cross pattern with the Allen key.
Step 2: Attach the Feet
The four feet screw into threaded inserts in the base plate. Thread each foot in by hand until snug. Do not over-tighten — the feet are aluminium or zinc alloy and the threads can strip. The feet should sit level; if the ottoman rocks, adjust the feet fractionally until it sits flat on a level surface.
Final Checks Before Sitting
Before using the chair, run through this checklist:
- All bolts tightened, no audible rattle when you rock the chair gently.
- Seat shell level and stable on the base — does not tilt to one side.
- Back assembly tilts with firm resistance and returns toward upright naturally.
- All rubber shock mounts fully seated (no metal-on-plywood contact).
- Ottoman feet sit level; no rocking.
- Leather cushions all correctly positioned and not pinched at edges.
Expected total assembly time: 20–30 minutes for someone doing it for the first time; 15 minutes or less for the second time.
Common Assembly Mistakes (and How to Avoid Them)
| Mistake | Symptom | Fix |
|---|---|---|
| Skipping rubber shock mounts | Metallic rattle; stiffer feel; shell contact noise | Disassemble seat shell, fit shock mounts on all studs, reassemble |
| Overtightening pivot bolt | Back does not recline; pivot feels seized | Loosen the pivot bolt one quarter-turn at a time until resistance feels correct |
| Under-tightening spine bolts | Headrest wobbles; back assembly creaks | Re-tighten all spine bolts from headrest downward |
| Tightening bolts unevenly | Shell sits at a slight angle | Loosen all four, re-seat shell level, re-tighten in cross pattern |
| Placing shells veneer-side down on hard floor | Veneer scratches during assembly | Always work on a folded blanket or carpet |
Care After Assembly
Once assembled, the chair requires minimal maintenance:
- Leather cushions: Wipe with a soft dry cloth for dust. For spills, blot immediately with a clean cloth — do not rub. A leather conditioner applied every 12 months maintains suppleness. Avoid direct sunlight and heat sources, which dry out aniline leather over time.
- Plywood veneer: Dust with a dry or very lightly damp cloth. Do not use furniture polishes with silicone, which build up on veneer surfaces.
- Aluminium base: Wipe with a damp cloth. The base finish is durable and does not require treatment.
- Bolts: Check all connection bolts after the first month of use. Some settling is normal; a single re-tightening pass is usually sufficient and the chair remains tight thereafter.
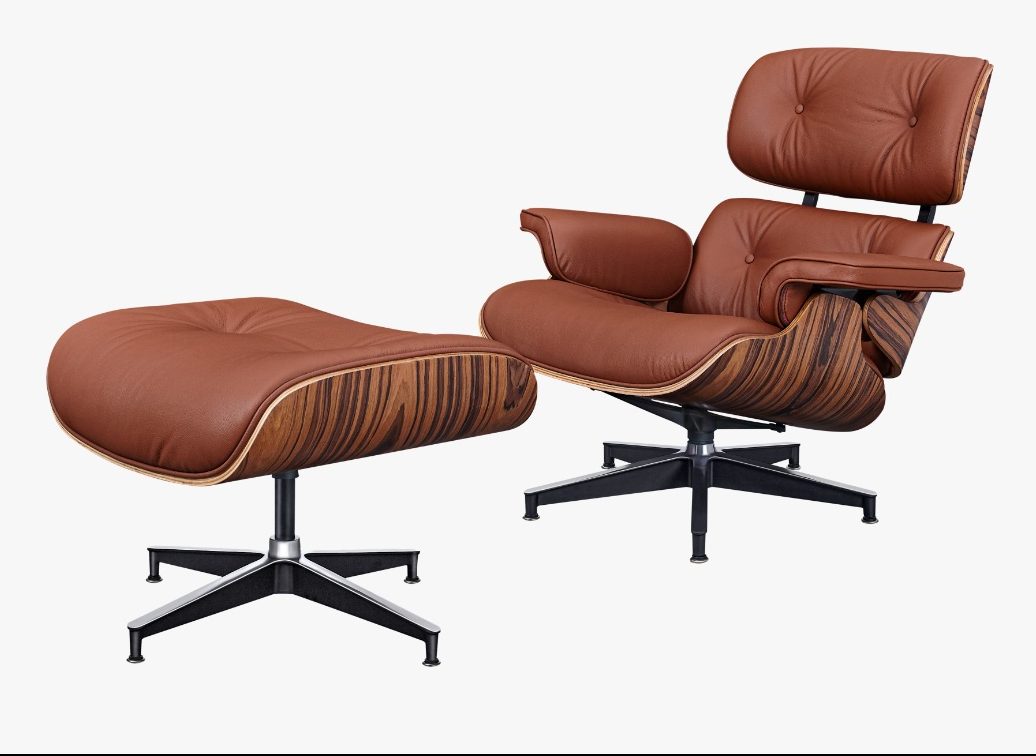
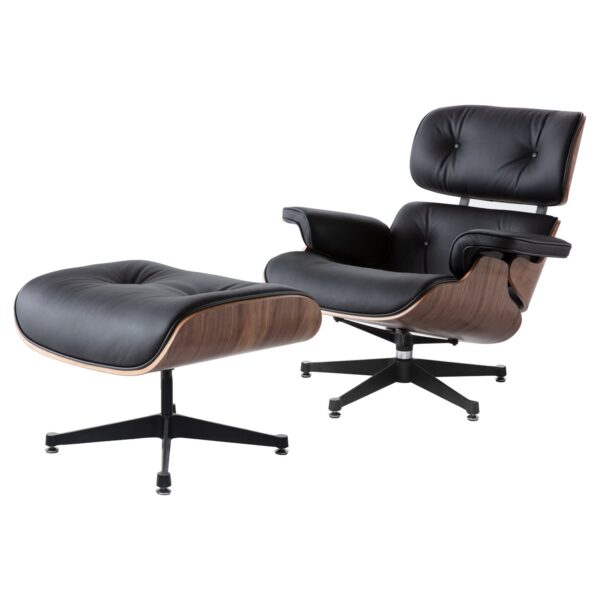
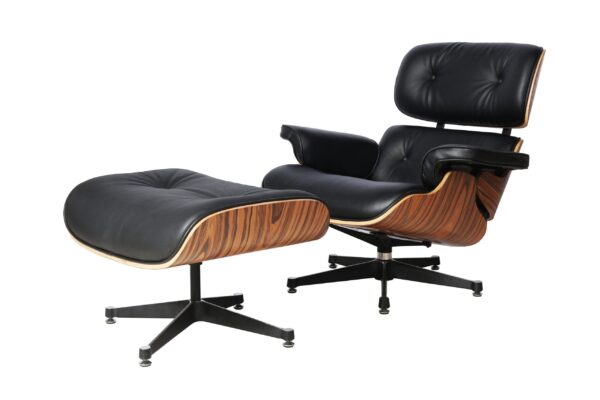
Browse Our Eames Lounge Chair Collection
All Decomica Eames Lounge Chair reproductions include the Allen key and full assembly instructions in the box. Free EU and UK delivery, dispatched in 1–2 working days, two-year manufacturer’s warranty.

Frequently Asked Questions
How long does it take to assemble an Eames Lounge Chair reproduction?
Most people complete assembly in 20–30 minutes on their first attempt. The process becomes faster with familiarity — around 15 minutes or less on subsequent assemblies. Having a second pair of hands for the back-assembly step speeds things up.
What tools do I need?
A Phillips-head screwdriver and the Allen key supplied in the box. No power tools, no specialist equipment.
What are the rubber pieces included in the hardware bag?
These are rubber shock mounts — an important structural component that fits between the metal mounting studs and the plywood shells. They absorb movement, reduce noise, and give the chair its characteristic slight flex. Do not skip fitting them.
A component arrived damaged. What should I do?
Stop assembly and contact support@decomica.com with photos of the damaged component. Decomica covers transit damage under the two-year warranty and will arrange a replacement or DPD collection at no cost to you. Do not attempt to assemble or use a damaged shell, as this can affect structural integrity.